47 ‘out of the box’ Ways to Style the Classic Red Nail

Red nails are the staple to any classic chic fashionista’s cosmetics counter. Almost as basic as red lips, red nails are sure to be a winner with any outfit, an easy go-to when you’re feeling stressed about your look. Check out this lovely lady, her red nails pair perfectly with her red lips and cami, giving her an effortless french sophistication in a laid back style. Or the woman in the picture below her, with her red velvet purse that contrasts her white outfit and offsets the red nails.


However, before we jump into the examples, here are a few tips to keep your manicure looking fresh and coax it to stay on as long as possible.
DON’T use nail polish remover to thin your nail polish out if it has gotten goopy or dried out. Nail polish removers that contain acetone can actually decrease the quality of your nail polish and cause it to become no longer useable.
DO use a nail polish thinner to restore glory to all the gunky old polishes sitting at the back of your dresser or cupboard. An important note to remember, nail polish thinner drops cannot be used on glitter polishes.
DON’T keep your nail polish bottles in the bathroom. This is a common practice that most people do not realize is actually cutting short the shelf life of the nail polish because of the fluctuating temperatures and humidity.
DO keep your nail polish bottles in a dry and dark cupboard or other area in order to ensure your nail polish lasts at least two years and beyond.
DON’T store your nail polish bottles jumbled together in a mess, especially with them lying sideways. When the bottles lay sideways, the polish can seep into the the opening between the neck of the bottle and the cap, and drying there, making the bottle very hard to open the next time you want to incorporate the shades you need into a manicure.
DO try to find a seperate, organized place for your nail polish. If you have a huge collection, this step is all the more imperative to be able to access the full breadth of your investment. After all, no one wants to buy a shade of nail polish and then realize they have a bottle of it at home that works perfectly fine. To organize your nail polish try using a compartmentalized box, a rectangular basket, etc. A great DIY way to organize your nail polish is to glue tiny, strong magnets on to each one of your nail polish bottles, and then stick them on a magnetic board or magnetized wall. This makes them easily accessible, and displays them in a way that is much clearer than a huge box.
Also, always remember to clean your nails with nail polish remover and a strong soap before applying the polish to make sure the polish binds to your nail better. After you do that, put on a base coat to allow the polish to bind even better to your nail and lasts longer, while also preventing yellowing and protecting the nail bed. When your look is finished, use a top coat to seal it off. A top coat adds gloss and shine, while also giving you extra protection and wear. Pro Tip: brush some of the top coat polish onto the very tip of your nails after you are done applying it to the whole nail. This will deter any pesky chips on the edges.
Another great thing to remember when painting your nails, especially if you normally have trouble with painting your right hand if you are right handed is to use a cuticle guard. You can buy a cuticle guard at any store or use some white craft glue. Apply it around the base of your nail beds and up the edges with a q-tip or brush to block nail polish from getting on your skin. When you are done painting your nails, simply peel of the cuticle guard and admire your beautiful new manicure.
- Basic Rounded Red Nail

This look is a little long, but versatile because of the rounded ends.
2. Basic Boxy Red
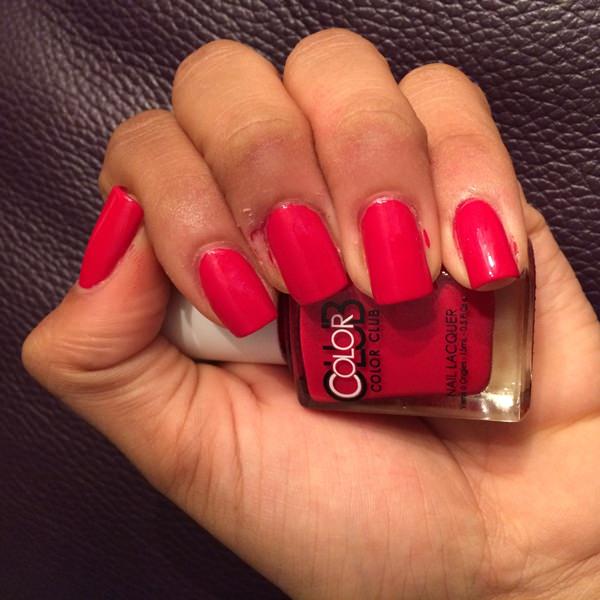
3. Simple At Home Mani
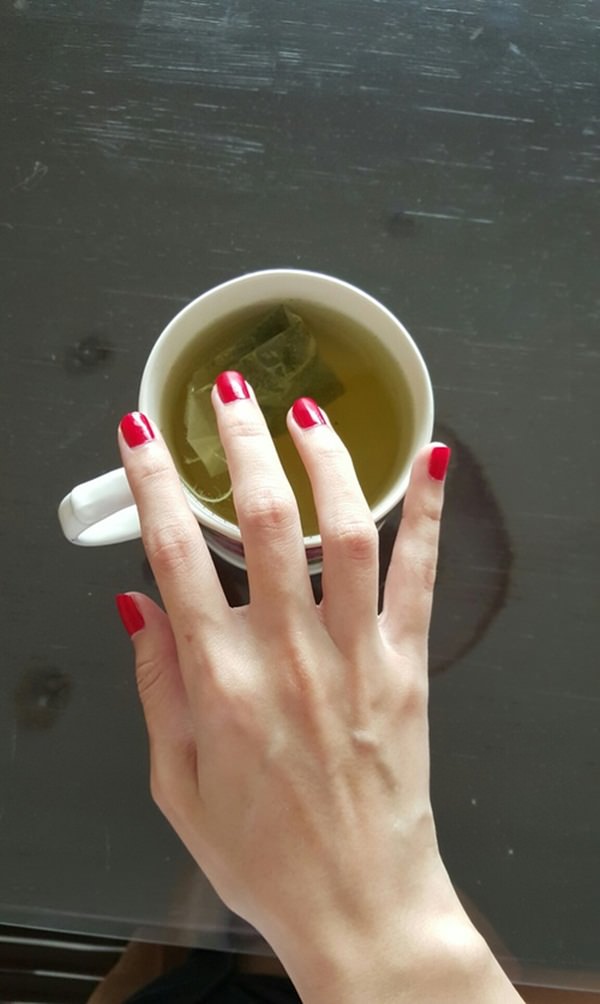 This manicure couldn’t be simpler, when your nails are a little longer than your base of your finger, paint them with any red nail polish that looks flattering on your skin tone for an easy and fast professional look.
4. Fast Drying Polish
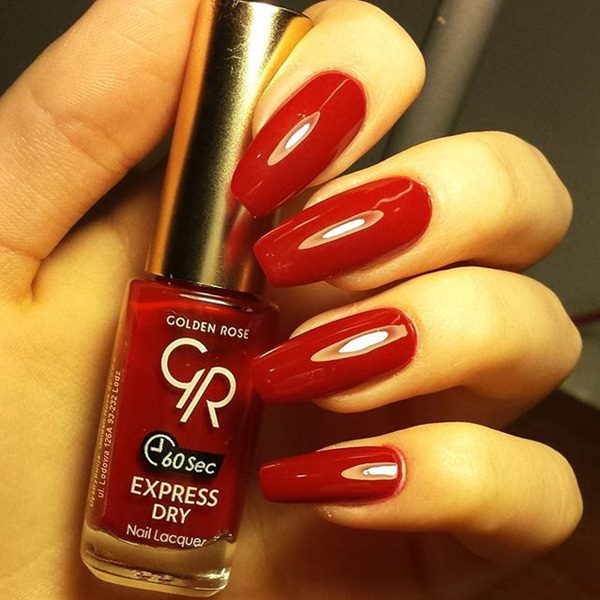
Need to be out the door quick for a job interview or a friend’s wedding? No problem! Use a fast drying nail polish like this one. Don’t have a fast drying polish? Try sticking your hands in the freezer to dry them faster, or run them under ice water.
5. Easy Glossy Red
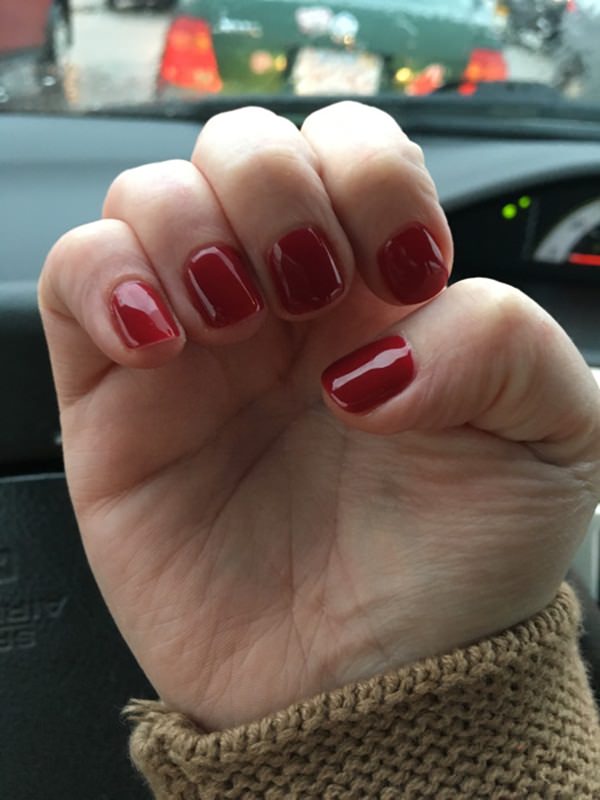
This look requires almost no prep work, simply cut your nails down to a comfortable length and gloss over your nails with a gel-based nail polish. The gel polish gives you a longer wear time and a beautiful shine.
See: The Perfect 59 Nail Gel Designs
6. Pointy Red Tips
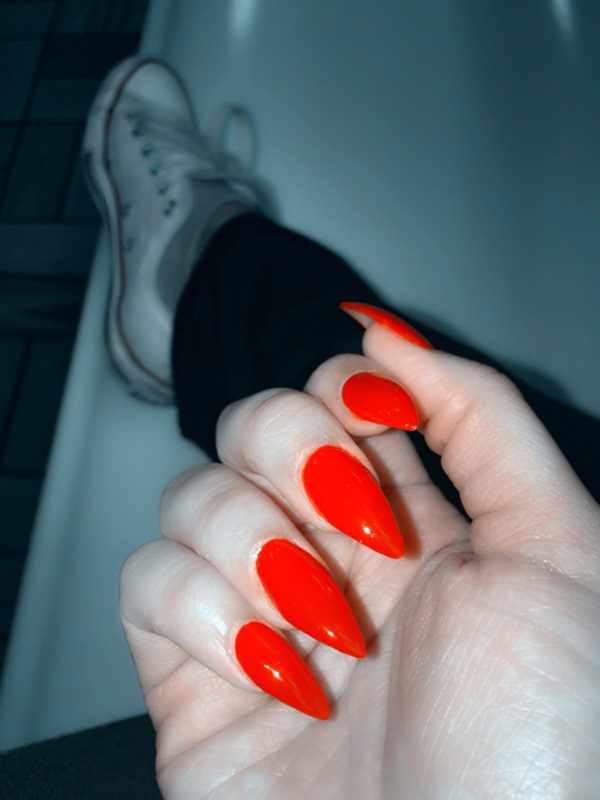
This witch-esque style is not for the faint of heart, or those who desire a more practical style. However, this look can be great for a costume- or those who are in dire need of a portable back scratcher!
7. Stacked Finger Rings
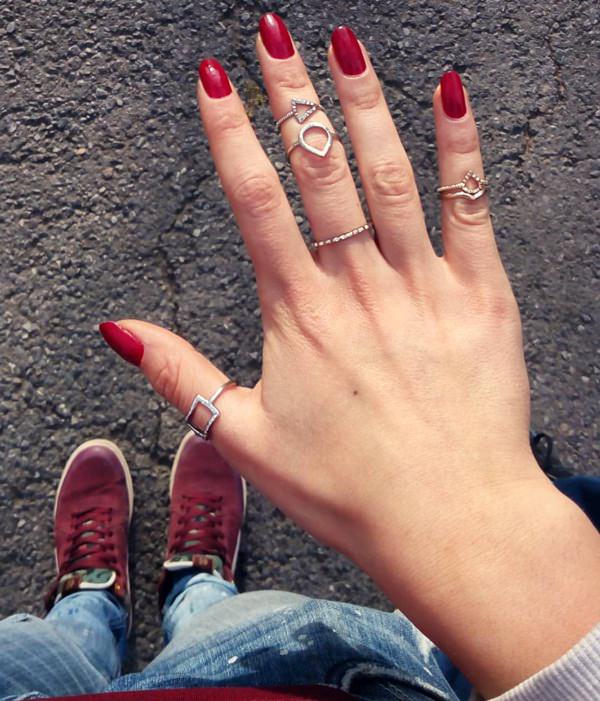
instead of investing in another bottle of polish to upgrade your look, try some rings to step up your hand envy game. Use multiple rings on a single finger to get a stacked effect that looks whimsical and bohemian.
8. Statement Ring
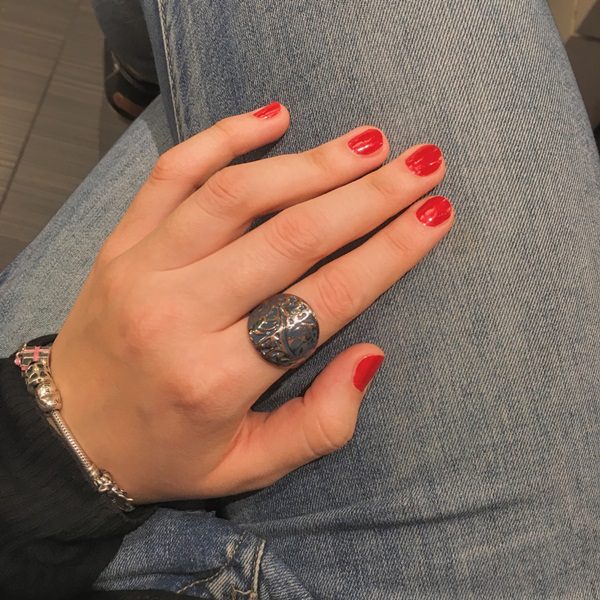
Don’t feel comfortable with too many rings on your hands? Try a single flamboyant ring as a statement accessory. You can choose a neutral color that pairs with your outfit, like pictured here, or purchase a red one that will match your manicure.
9. Plaid Printed Nails
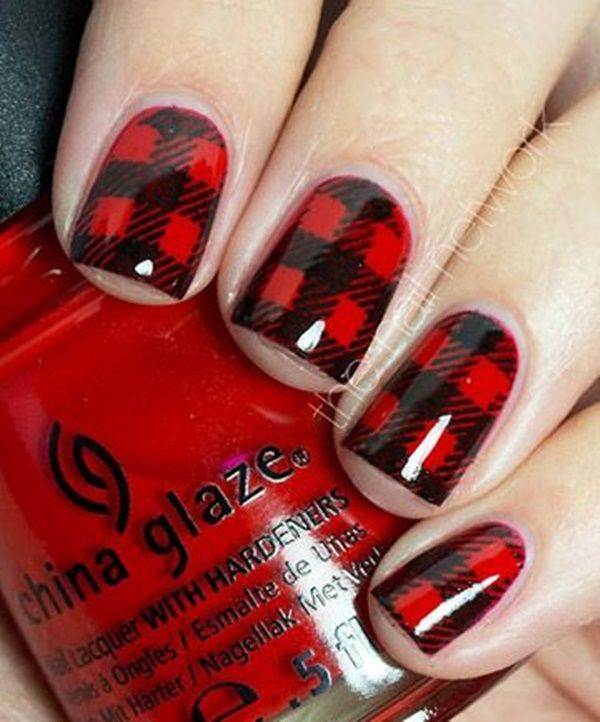
You will need some nail stickers or prints to do this manicure, hand painting it would be very time taxing. This look adds a grunge retro look to a classic manicure, definitely a unique twist that no one else will have. Try pairing it with a red flannel for a cutesy matching look.
10. Confetti Sparkly Gradient
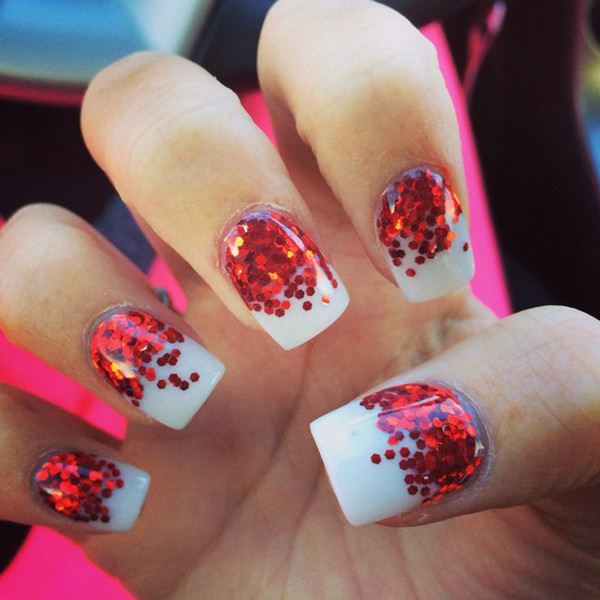
This look is a multi step process, so only attempt it if you have some time on your hands. First, apply some white nail polish or use white colored fake nails. Then, use confetti nail polish near the base of your nail and spread a little bit up to create the ombre effect. Don’t forget to use a top coat with this style because the confetti is prone to flaking off.
11. Novelty Sticker Mani
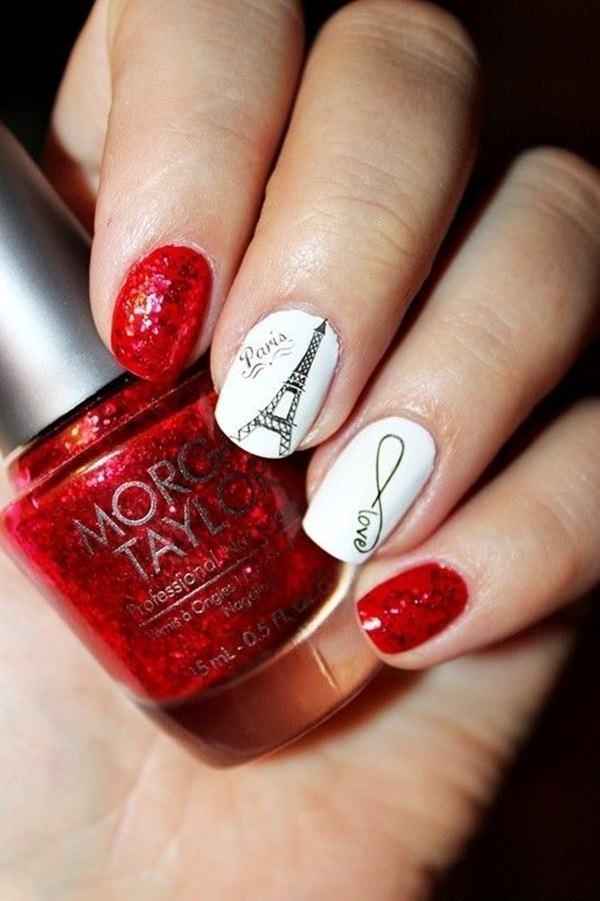
You can get all sorts of great stickers to add a focal point of interest to your nail art. You can go minimalistic, like in this look and only apply stickers to one or two of your nails and paint the rest red, or add a tiny sticker to each one of them.
12. Bushels of Apples
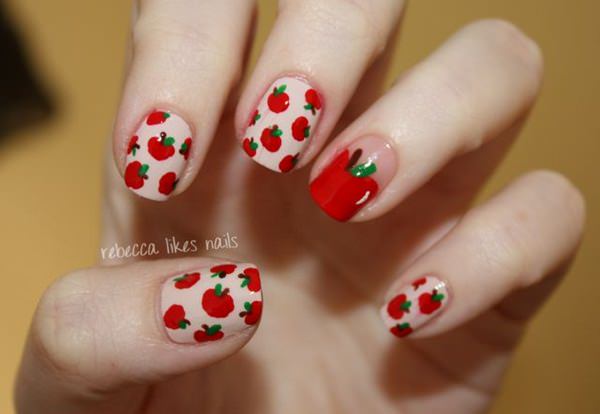
These nails take at least four or so colors, pick a base coat color, preferably white or a very light pink or beige, depending on what you have. Paint all of your nails except the pointer or ring. Then, using the red and a small tipped brush, make about five or six tiny red circles on each nail, allowing some to go ‘off the border’. Next, use an even finer tip and green to make a little ‘leaf’, and a brown to make a ‘stem’. The fun part is the finger you left out. Paint it with a big apple as shown in the picture, and add a tiny white line to the side to add some ‘depth’ to your artwork. Ta-Da! Genuine candy apple red nails!
13. Multiple Nail Textures
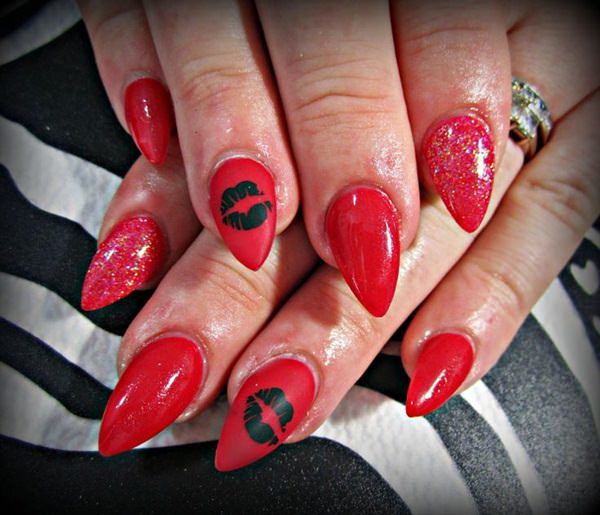
Nail polishes can dry into a multitude of textures. Matte, gloss, shimmer, glitter, just to name a few. You can combine some of these textures into one look by painting each nail a different texture to get an eccentrically charming manicure.
14. Unique Ring Finger
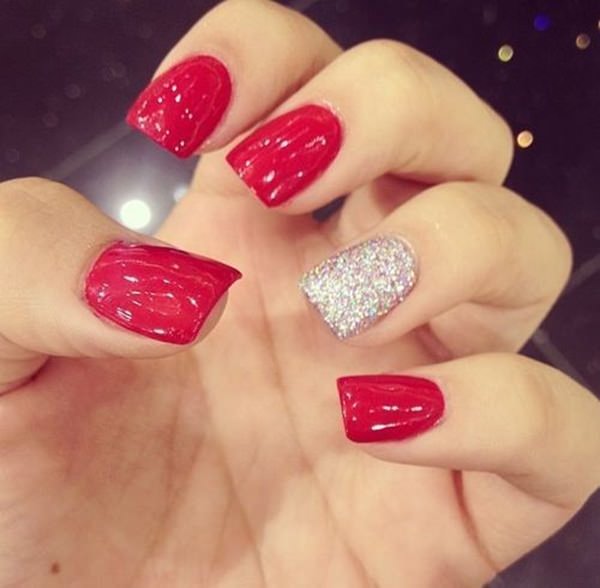
Painting the ring finger a special way is the latest trend in the nail fashion world. It couldn’t be simpler, and adds a festive touch to any manicure. It’s especially great if you are torn between colors. In this case, pick a sparkly false nail or nail polish to replace the red on your ring finger.
15. Claw Heart Tips
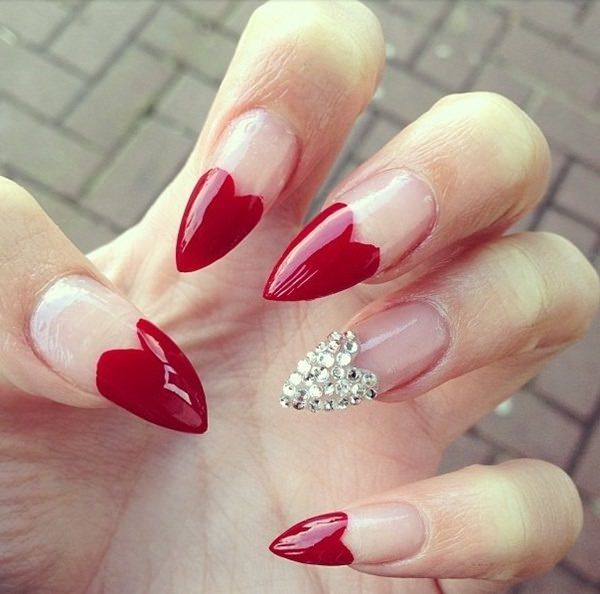
This manicure has three main points that make it look so unique. Firstly it make use of the ring finger trend by incorporating the jeweled appliqué. Secondly, it makes use of another hot trend at the moment, a negative space mani! Negative space is when you leave a part of the nail blank and add polish in a design shape, it adds a level of easygoing sophistication. Lastly, the pointed tips are very bold, the heart shapes can be achieved by creating little ‘M’ shapes near the base of the tip and filling in with red. This style is definitely perfect nearing Valentines Day!
16. White Five-Petal Flower Stems
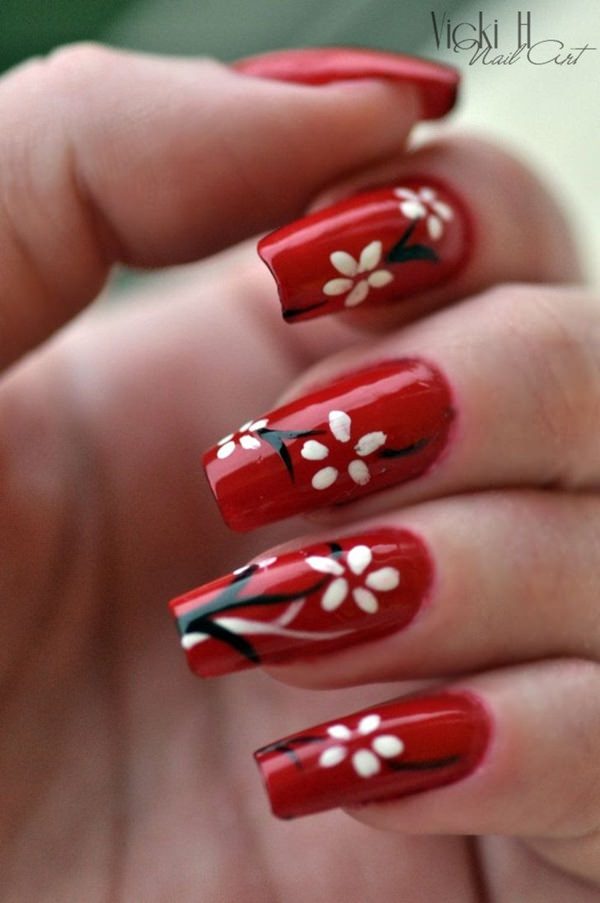
This look definitely looks best on longer or fake nails. The flower accents are painted over nails that have been painted red and completely dried. Use swift motions in brown or black to create the stems and white dots to create the flower petals.
17. Color Blocked Contrasting
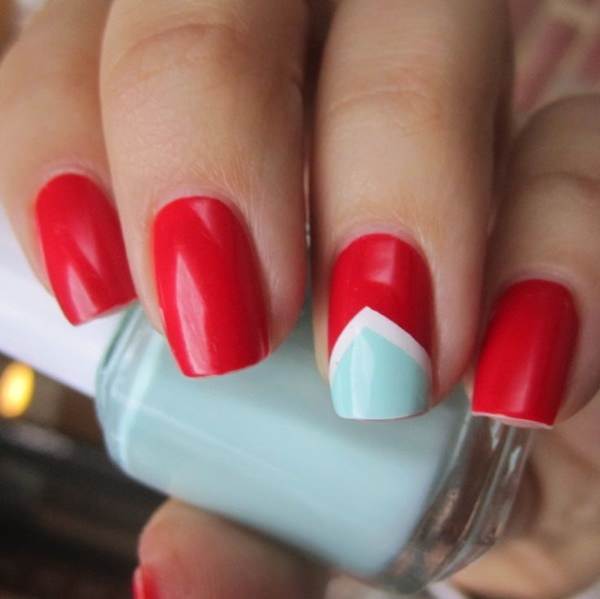
Another great trend put to use here! Color blocking makes use of contrasting colors put together in geometric, minimalist patterns. To get the look pictured here; paint your nails red and allow them to dry completely, then tape off a section in a triangle or other shape. You can tape off just the ring finger nail, keeping with trend, or do all of them if you have a little time on your hands. Then, paint the blocked off section a different color, like the baby blue used here. Light pink, turquoise, or even maroon would all be great choices. Allow for the polish to dry and peel off the tape.
18. Big Apple Nail Tips
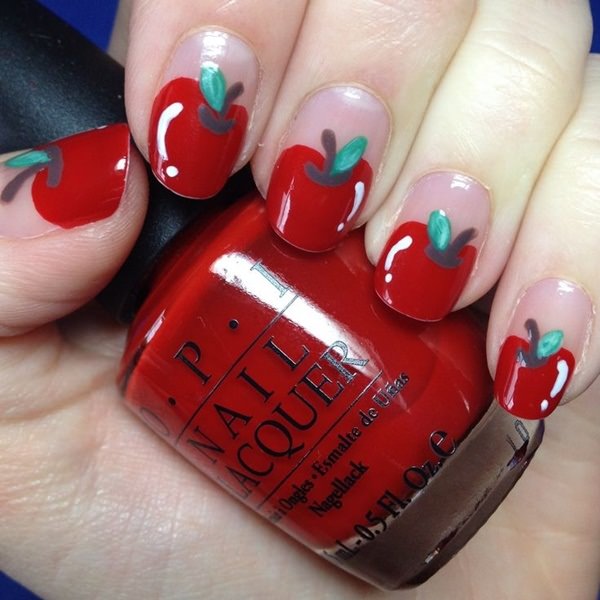
This style is similar to the one shown previously, except that here all the nails are tipped with the red apples. To set a good base for this look, first round the tips of your nails and apply a glossy base polish. Then, paint them red and follow the same process described above.
19. Multi-Media Manicure
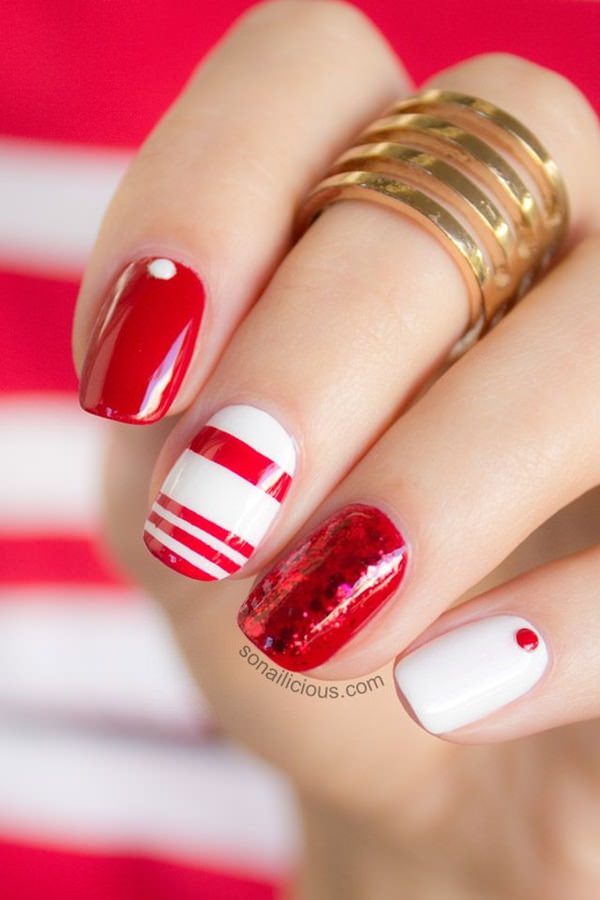
This look is like a collage of all different types of nail art appliqués. First, paint alternate nails red and white and allow to dry. Then, first use a nail jewel and glue is to the base of the first nail. For the second nail, stripe with red. The third nail should be painted over with a glitter polish. Then paint the last nail the same as the first one. Make sure that you paint over all the nails with a top coat to that nothing flakes off.
20. Faux Lunula
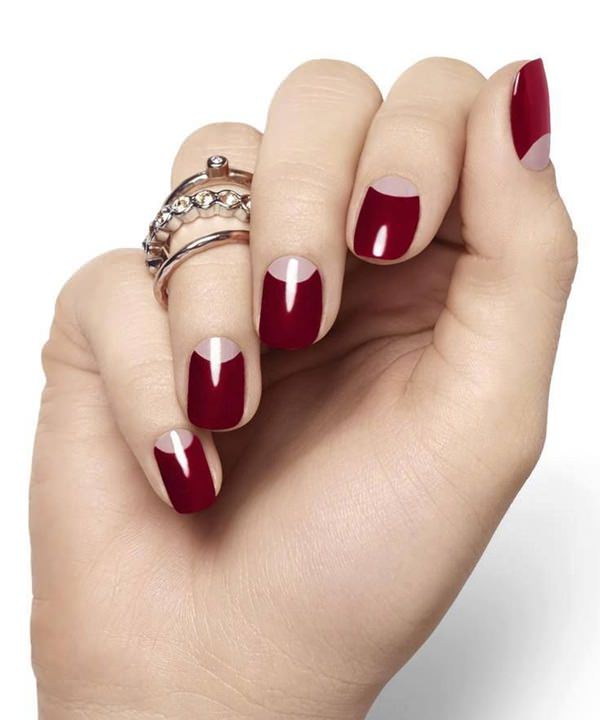
Get ready to learn a new word today! A lunula is the crescent shape that is at the base of your nail bed. It is emphasized in this unique look with a pinkish undertone. To get the style, first paint your nails in a pinkish polish, and then use a deep red over it, leaving off a half circle at the base of your nails. To get the crescent shape perfect, use a French tip shaper or other tape.
21. Red and White Winter Combo
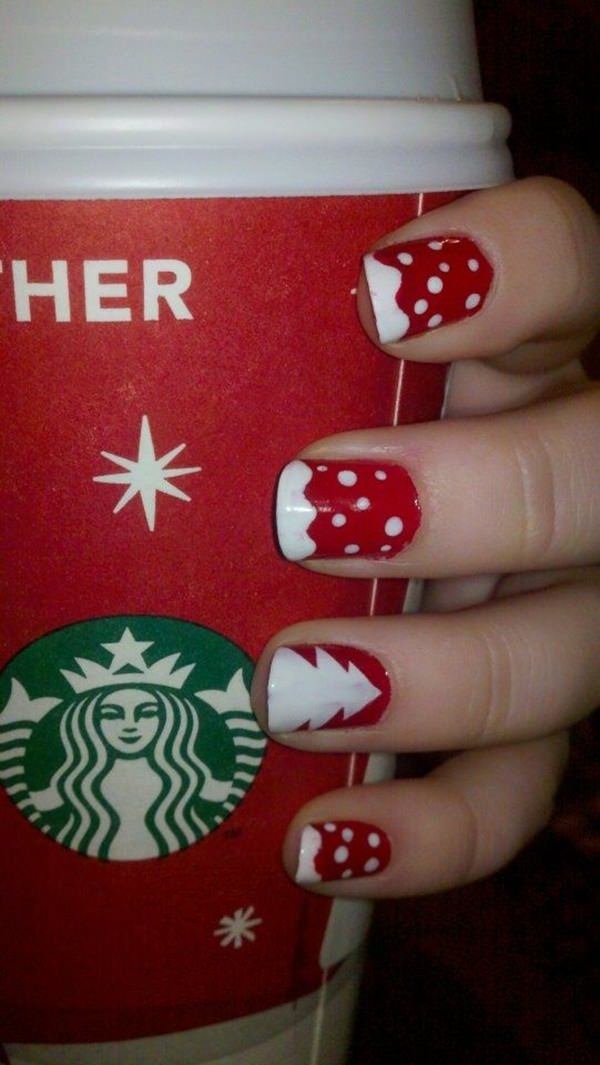
This manicure looks like it has been done freehand. After you use a red base paint, draw in the trees and snowy hills with a nail paint pen, or a fine tipped brush with white nail polish, have fun with it and let your imagination run wild.
22. Ugly Christmas Sweater Nails
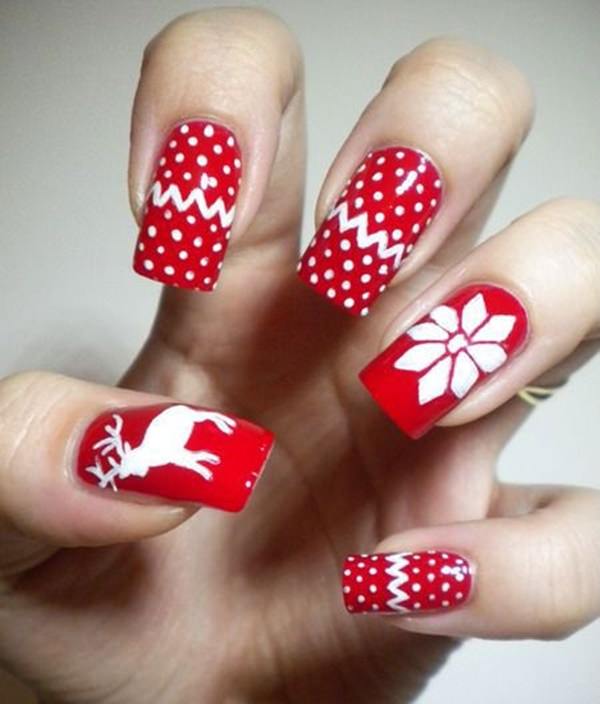
This manicure is anything but ugly, and it’s perfect for the winter season. The look pictured here requires a rather broad base, so consider using fake nails. After you paint the nails a simple christmassy red, use a fine tipped brush to create the dots, zigzags, and designs.
23. Metallic French Tips
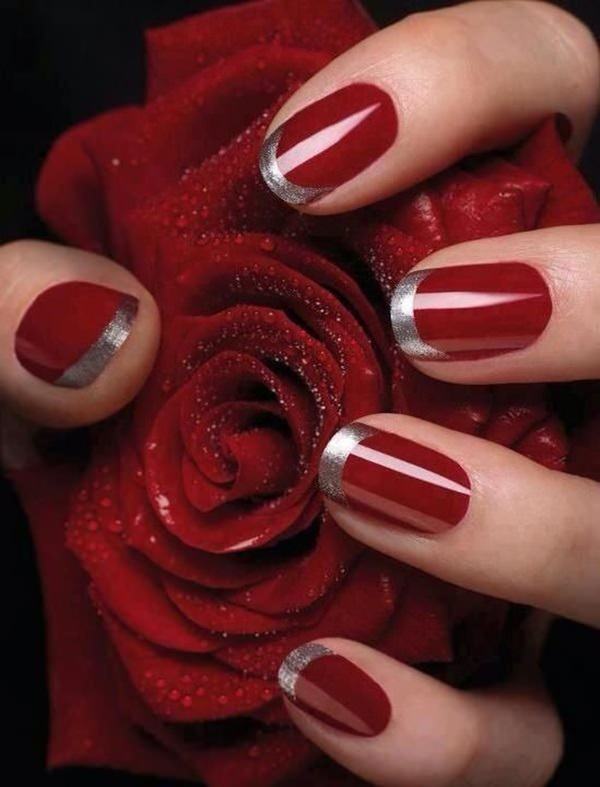
This look adds an air of simple but alternative sophistication to the classic French tips. Before starting, make sure to round the edges of your nails. To get clean lines, use a French manicure shaper sticker at the tips of your nails and paint in the edges with a metallic color, like copper, gold, or silver. Finish the look with a glossy top coat.
24. Marbled Shades of Red
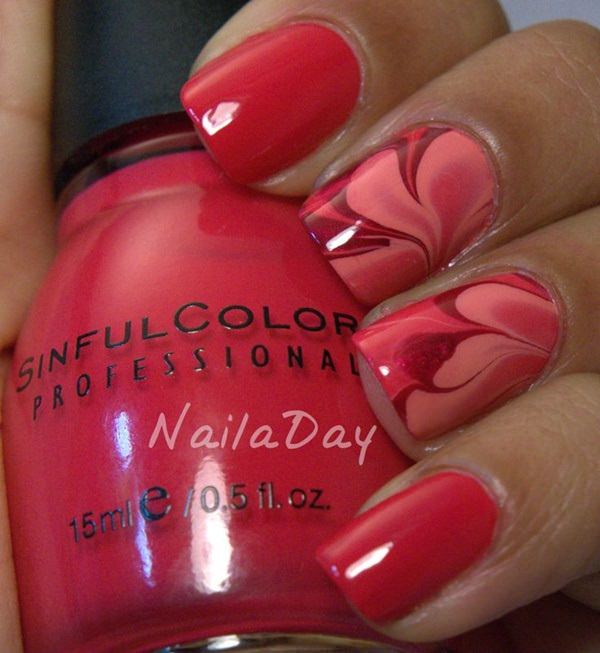
There are plenty of tutorials online of how to make marbled nails, most involving the same basic materials, but here’s a simple summary. First, find yourself a wide mouthed, shallow bowl. Then, drip a few drops of different shades of nail polish into the bowl of water and swirl it to your liking with a toothpick. Now, dip your pre-painted red nails into the bowl and clean off the excess polish on the skin around your nails with a cotton swab.
25. Negative Space Triangles
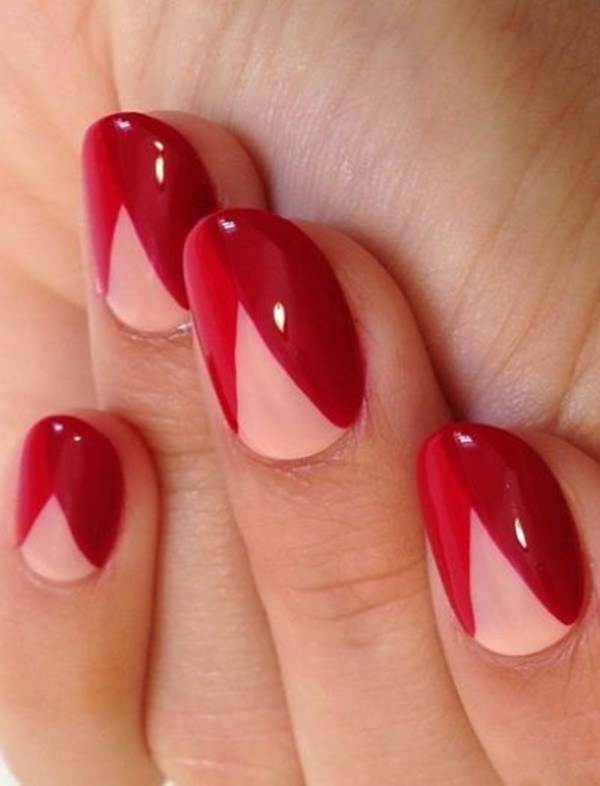
This manicure is really easy to pull off. After you apply a base coat, take a piece of tape and place it diagonally on your nail, and paint over it with red nail polish, allow to dry, and do the same thing to the other side. Afterwards, as with all negative space manicures, don’t forget to use a glossy top coat.
26. Spider Web Tips
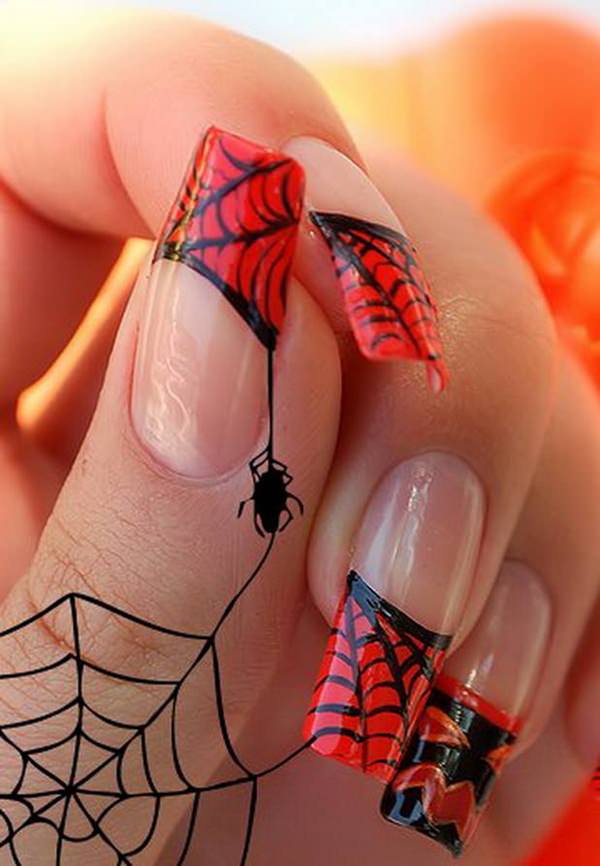
Another great Halloween manicure! Deceptively simple and making use of the negative space technique, this manicure is rather modern but still cute. Just paint your tips red, and then use a fine tipped black nail polish to create the webs. Start from the corner, and use three wide strokes for the webs, and connect them with short black strokes.
27. Striped Candy Cane
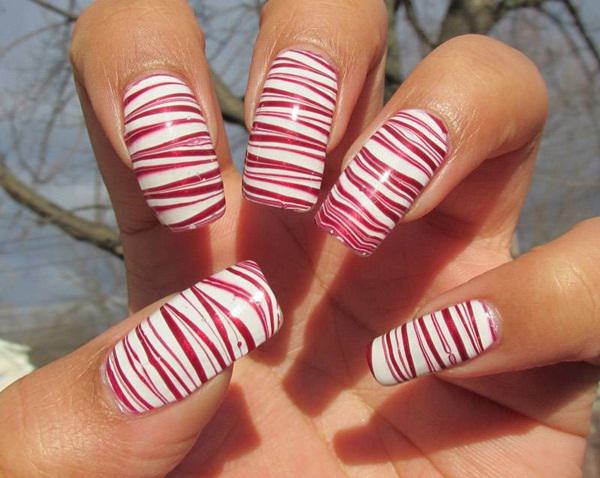
This manicure is also great for the holiday season. To get the look, use a white polish for a base coat. Then, get two brushes for the stripes, one that is wider and one that is narrower. Paint the red stripes randomly, alternating thick and thin to get the random look.
28. Hidden Rectangle
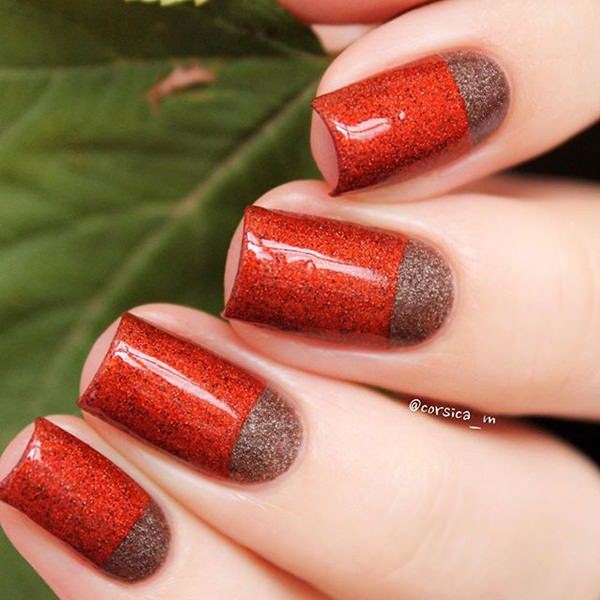
This look is very unique and simple. You can paint it with any color as the base, here a glittery metallic is used, but try a mint green, peach, or silver. To get the look, paint your nail with the base color you would like to show up at the bottom, and allow to dry. Then, tape off the bottom section of your nails and fill in the top with a red.
29. Nail Jewel Designs
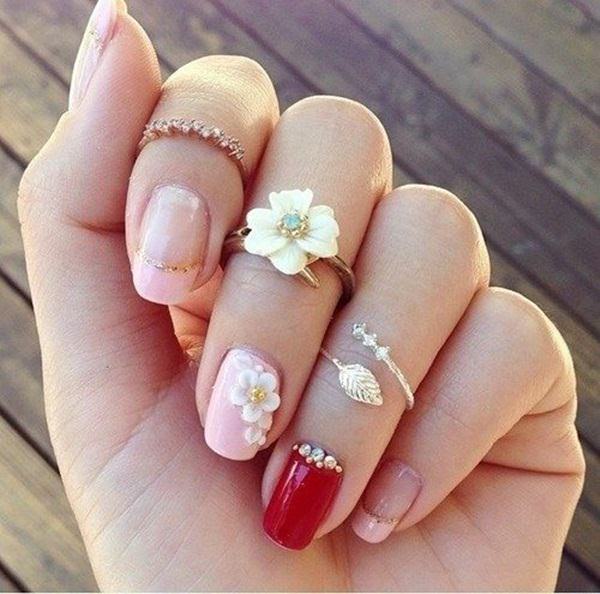
You can buy all sorts of nail jewelry online that is great for jazzing up a simple red mani, they work best applied near the base of the nail to prevent them from coming off easily. Also great in this look is the painted tips on the pinky and pointer finger sectioned off with a thin gold border, and how the finger rings match the manicure.
30. Gold Accents
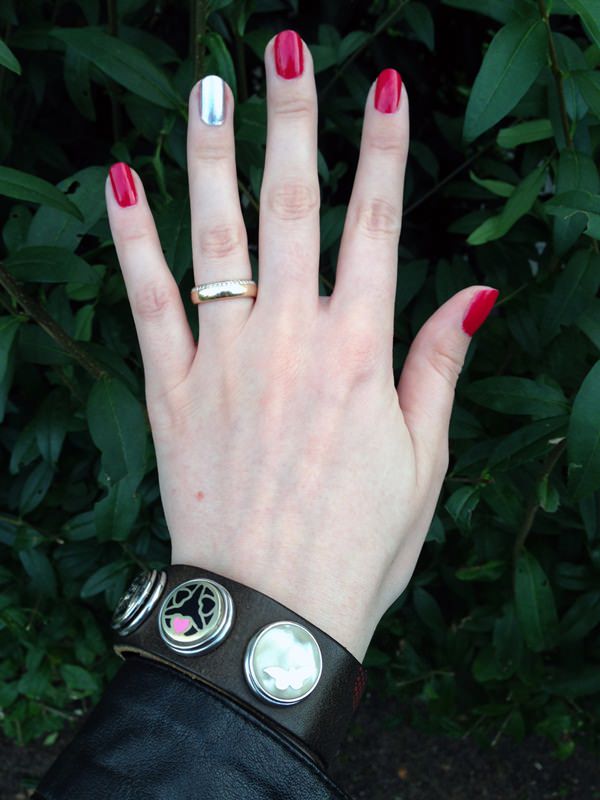
Gold nail polish is a great complement to any tone of red. You can use the gold as pictured here to paint just the ring finger (great for engagement photos) or use it to accent all the fingernails.
31. Matching Shoes

Pick a piece of your outfit to match your manicure, it can be the shoes, as pictured here, or a purse, or even pants. Coordinating your nails with the rest of your outfit is a great way to look put together easily.
32. Negative Space Haunted Trees
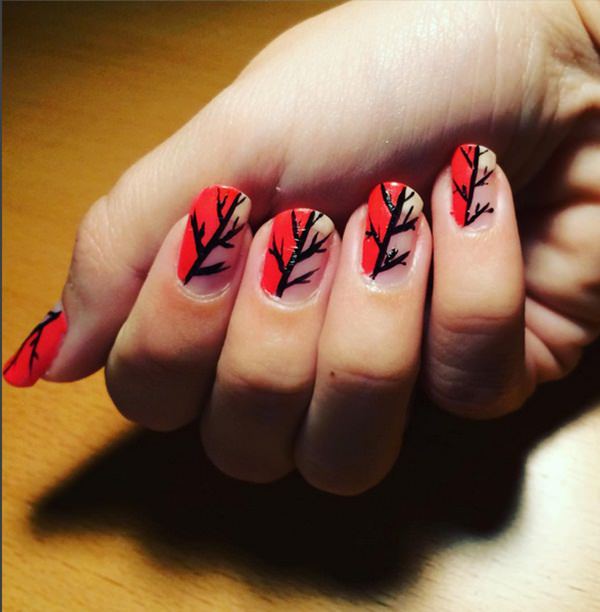
To get this look- that also look great for Halloween- tape half of your nail off and paint it red. Then, use a fine tipped brush with black nail polish to create the creepy black trees, with an equal number of branches on each side.
33. Cherry Red Polish
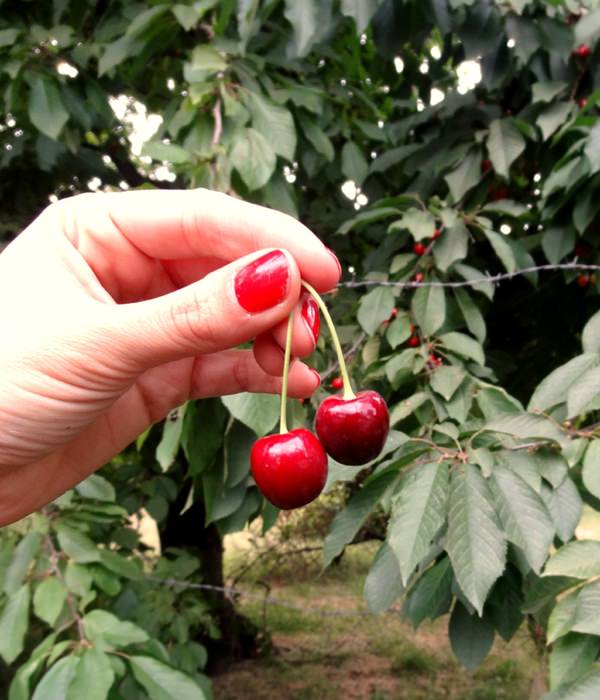
When it comes to shades of nail polish, you can never go wrong with a simple pinkish candy apple red. This color of red is great for anything from a prom dress to a casual dress shirt.
34. Shimmery Red Polish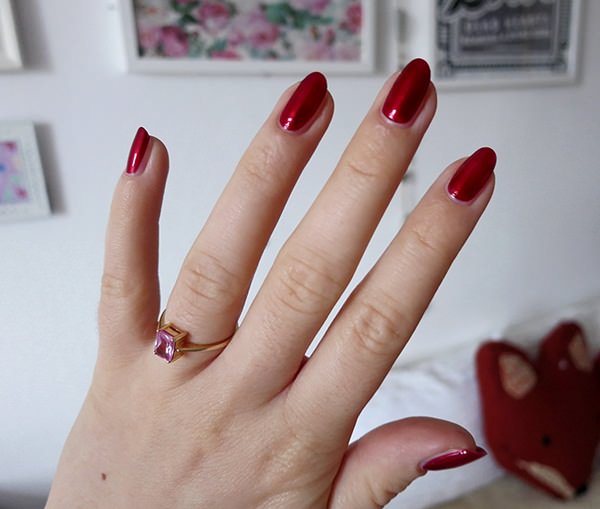
Shimmer polish is also a great option. Just remember, that shimmer polish is rather thin, so you may need to use a highly pigmented base coat or multiple layers of the shimmer nail polish.
35. Rose Red Polish
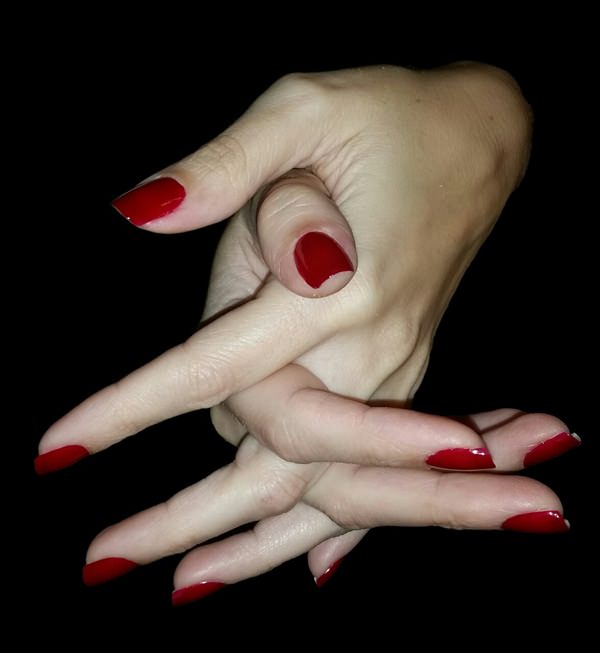
The rose color in this picture is also very versatile and glamorous. Try pairing it with a professional pantsuit for a fresh look.
36. Inch Length Red Nails
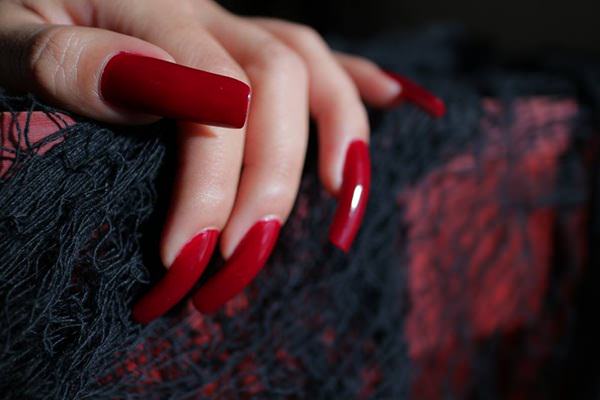
Fake Red nails
37. Crimson Red Rounded Edges
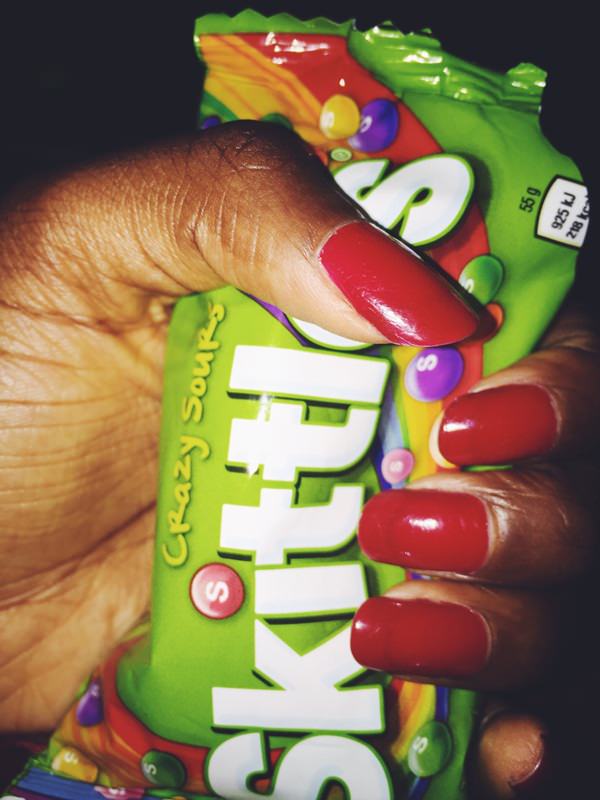
Crimson nails look bright and highly pigmented without seeming childish. Pair this manicure with similarly colored beautiful earrings or ring.
38. Don’t Forget Your Toes!
Is it sandal season where you live? Well don’t forget to give yourself a nice mani-pedi before you hit the beach. If your nail polish has a particularly long drying time, don’t forget to use toe dividers to keep your toes from squishing together as your polish dries.
39. Garnet Red 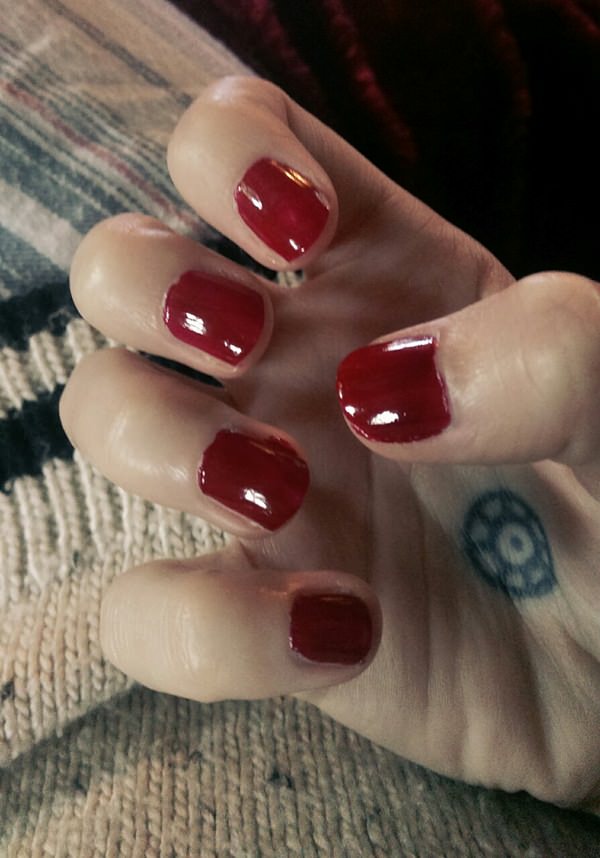 Garnet is the most grown up color out of all the ones shown here. Paint over the garnet red nail polish with a highly glossy top coat, to add to the jewel like effect.
40. Merlot Matte Long Nails
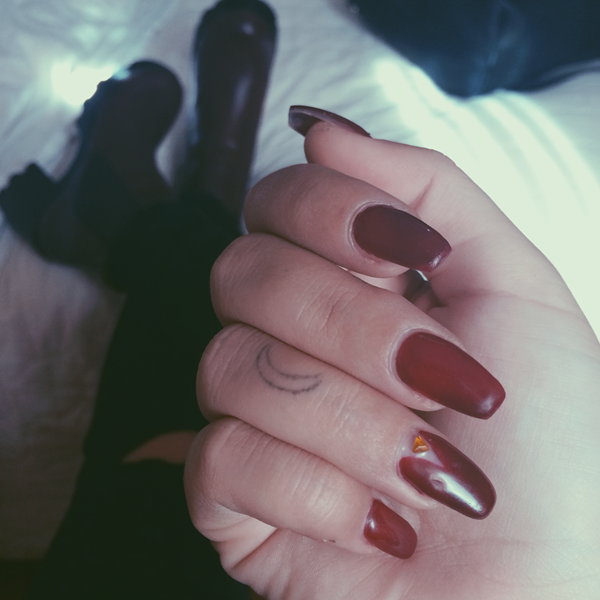
Matte is the opposite of glossy. Matte manicures look great with red polish because of the way it appears like red velvet.
41. Faux Dotted Outline Lunula
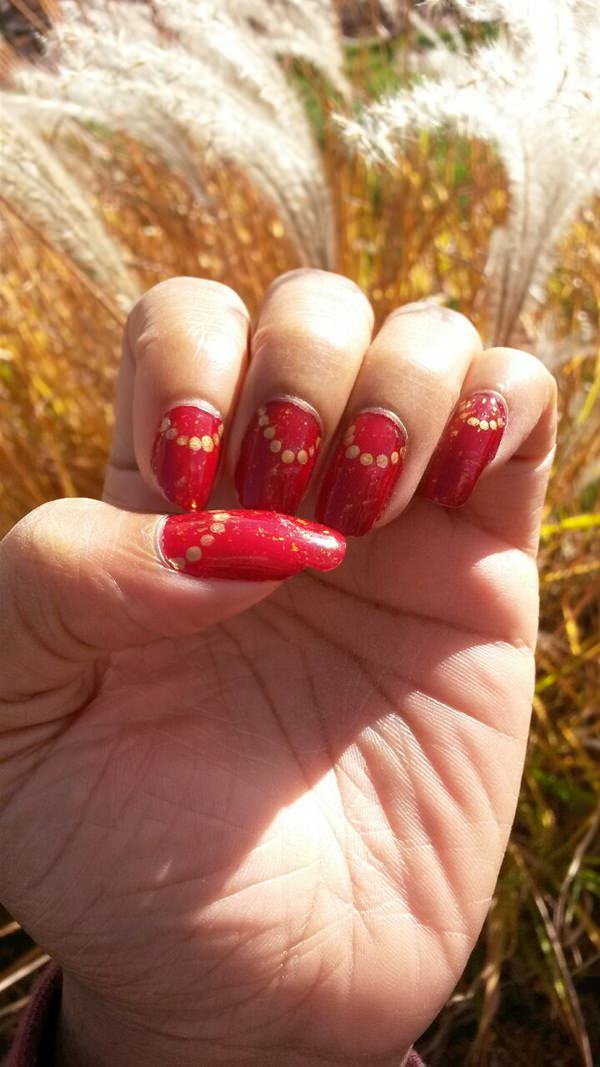
Another lunula manicure! This look is much simpler to do than some of the other previous ones. After your paint the red base coat, make little dots in a crescent shape around the base of your nail. Any contrasting color works, but try the coppery color pictured here for a cozy autumn look. Pro Tip: Use the rounded end of a bobby pin dipped in the color of nail polish you want to use to create the dots.
42. Candy Apple Red Manicure
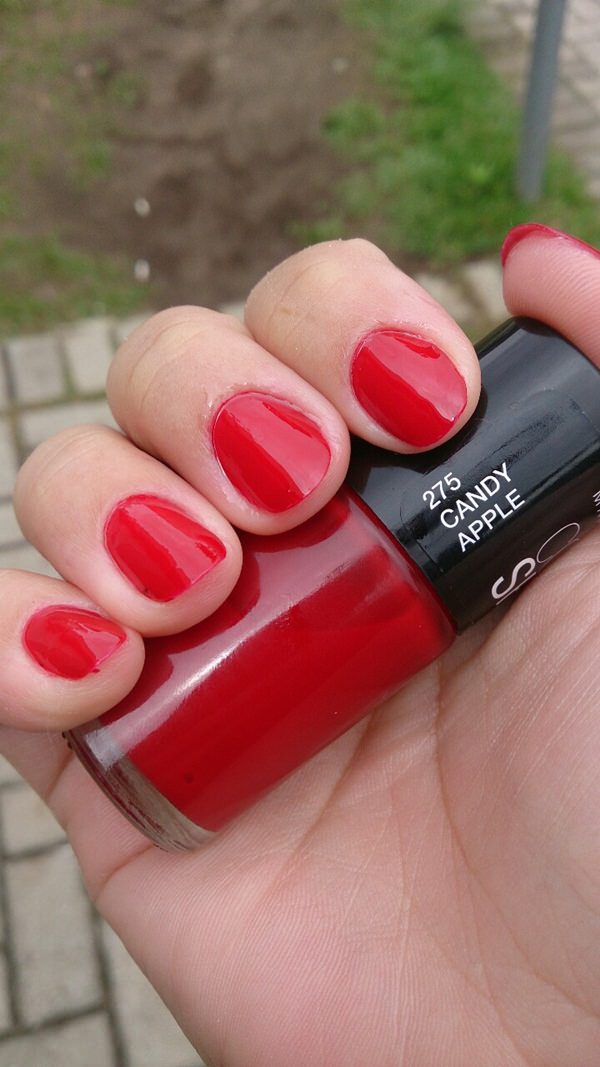
The candy apple red shown here is quite different from the one above because of the slight orangish tinge. This color would look great with a simple black or white outfit.
43. Glossy Red Fakies
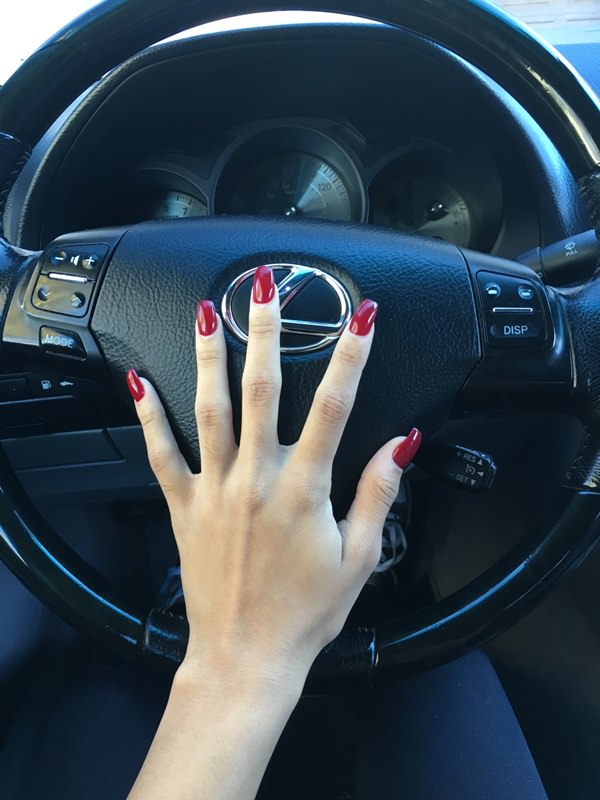
These classic red fake nails are great for when you just want a basic look that is still beautiful.
44. Rose Red Long Boxy Nails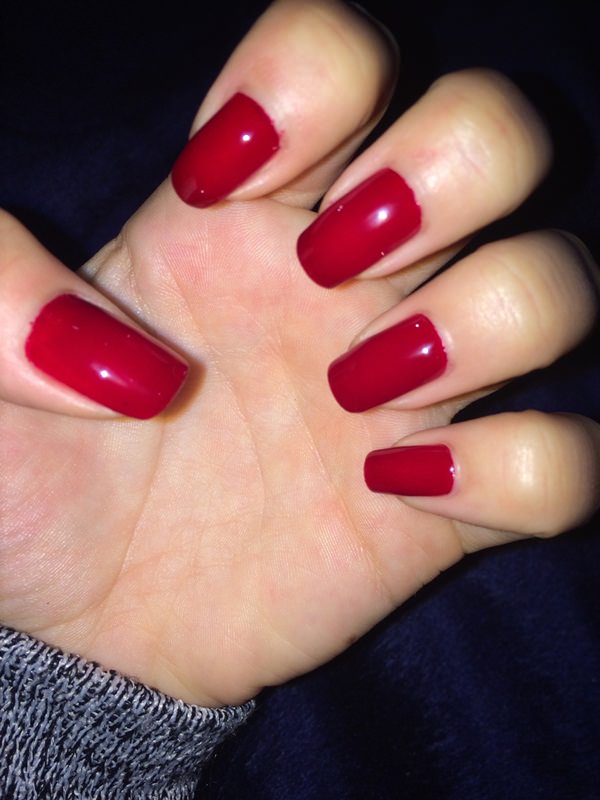
These nails are long, but they look beautiful because how the long nails are shaped into clear and concise box shapes.
45. Mahogany Red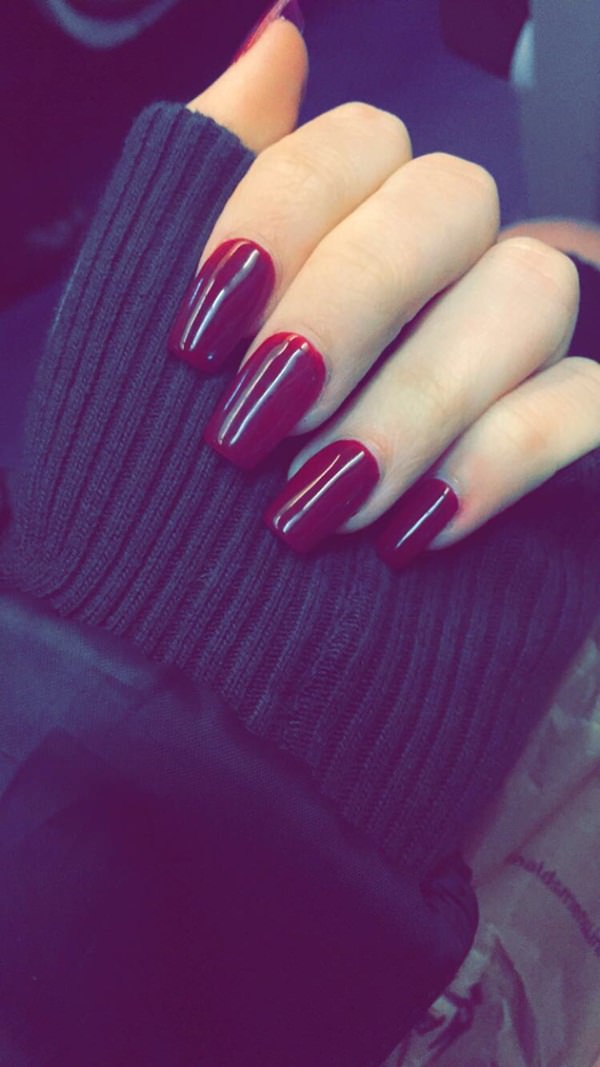 These mahogany nails are the darkest red on this list, but don’t feel shy about paring them with darker colors, like the black sweater shown here for a moody, ethereal look.
46. Neon Red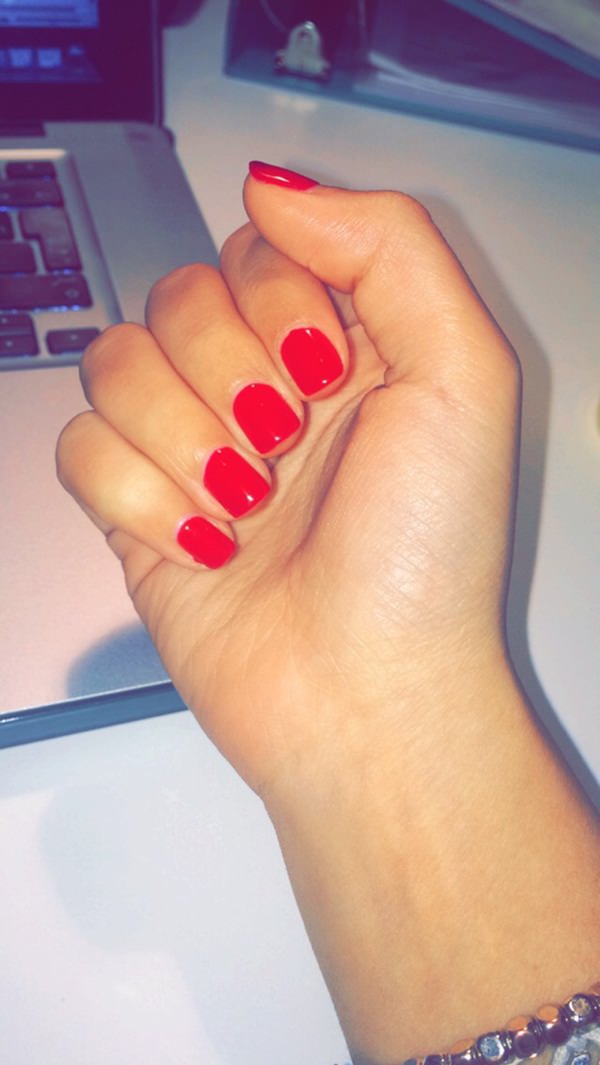
While this shade of red nail polish would look great on any skin tone, it is especially visible on people of darker skin colors.
47. Orange Red Pointed Tips
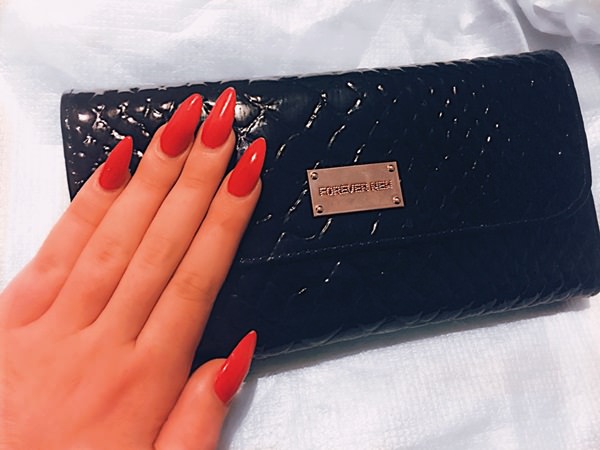
This color of red is so orange it would probably be considered on the very borderline. While this shade could probably be word by anyone if paired with the proper outfit and accessories, it would look especially good on lighter skinned people.
